Your shopping cart is empty!


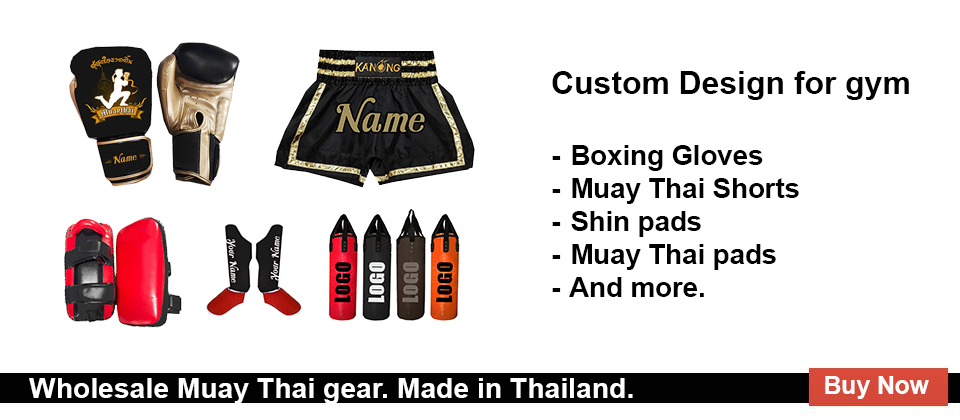
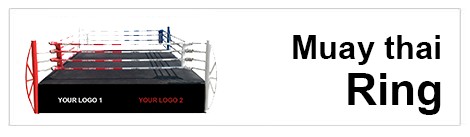
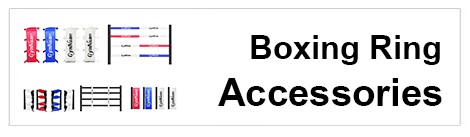
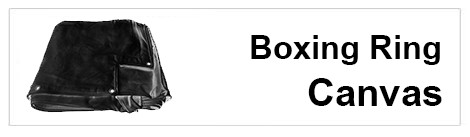
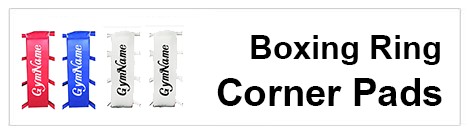
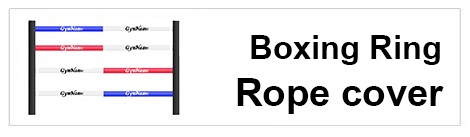

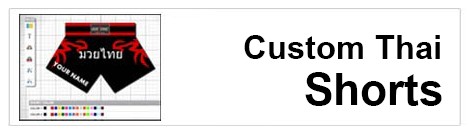
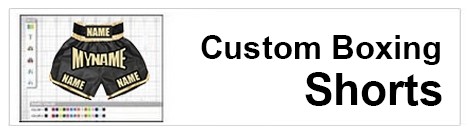
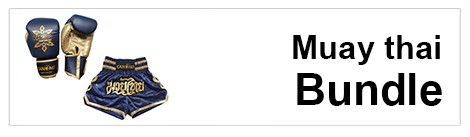
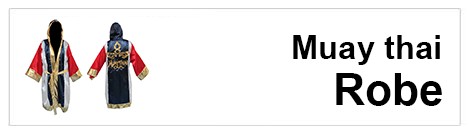
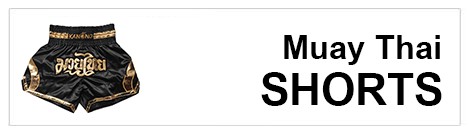
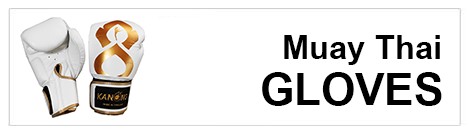
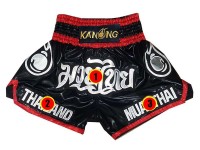
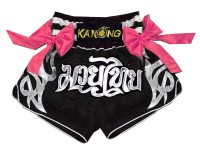
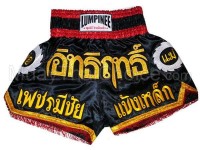
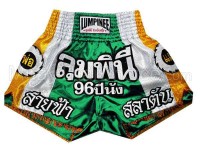
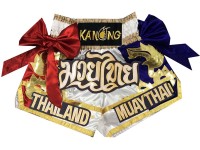
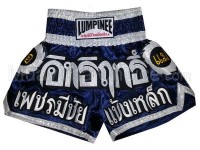
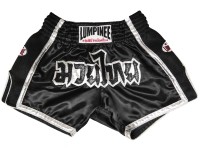
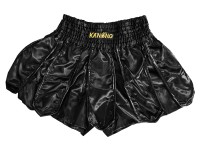
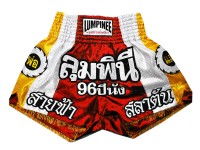
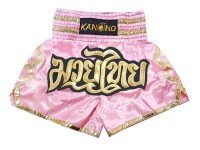
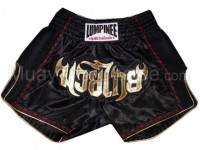
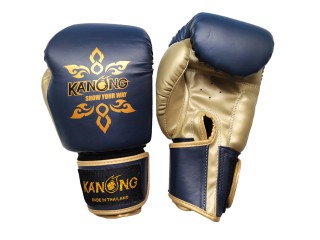
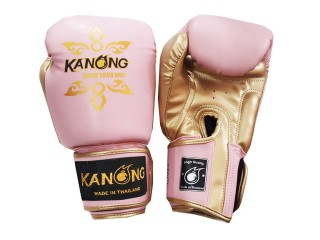
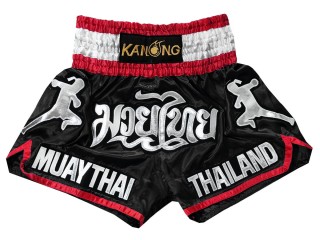
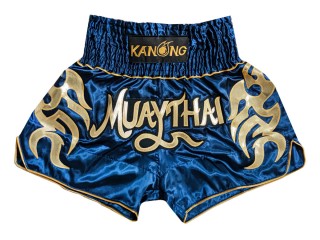
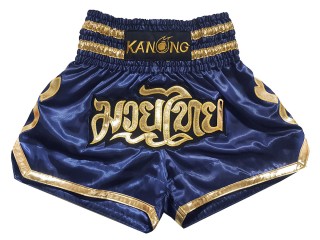
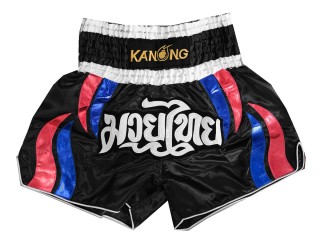
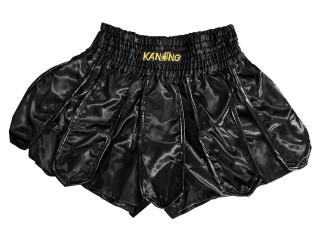
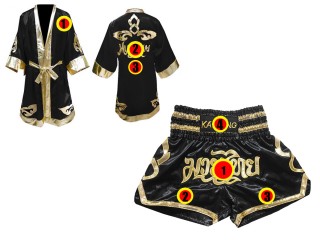
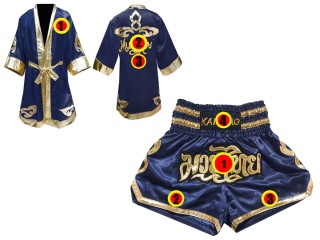
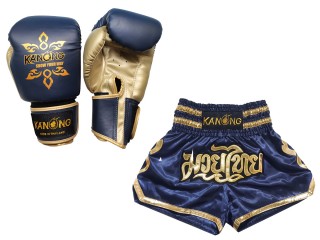
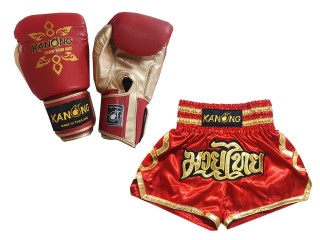
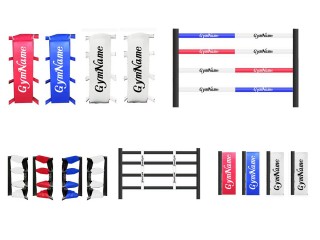
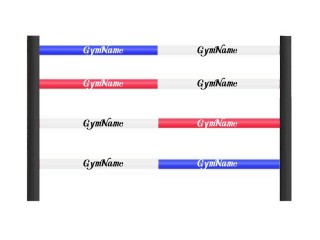
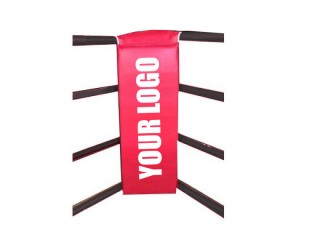
We are your complete reatial and wholesale Muay Thai shop where to buy Short Muay Thai, Muay Thai training gear, Boxing Equipment wholesale including Thai boxing shorts, Kick boxing gloves, as well as complete line of Custom Boxing products and Customize Kick boxing equipment including Custom Muay thai Shorts, Customize Boxing trunks and design your own fight gear and training equipment or even boxing ring accessories including Boxing Ring Rope cover, Corner pads, Ring canvas and more. We carry only the finest quality Kick boxing Equipment available with some of the largest brand names in the market today such brand names as Lumpinee, Classic, Boxsense, Kanong and Nationman. There are hundreds selling of Martial Arts combat gears you can find in our store. Get our deal today. Your satisfaction is our priority! Enjoy Shopping with MuayThaiSport.com!
We offers both wholesale Muay Thai gear for gym owner, Muay Thai team or club who need own design Boxing gear. Also customize Muay Thai gear for single one for personal unique used.
We are based in Thailand. We ship to United Kingdom, London, and worldwide in every countries in the world including Canada, USA, UK, Australia, France, Spain, Singapore and more. Checkout our offers and buy it Now!